





Instead of arranging a second cleanup after your tree removal, plan the mulch work with the removal estimate so debris handling, stump work, and bed preparation happen in the right order. For mulching after tree removal in Rochester, NY, finish equipment access and ground preparation before spreading the final layer.
- For mulching after tree removal Rochester NY projects, finish cleanup and stump decisions before spreading mulch.
- Spartantreeny fits Rochester homeowners who need tree removal and mulching services.
- Keep stump grindings separate from planting soil, and confirm who handles debris removal.
- Schedule mulch around site readiness, not an assumed same-day finish.
Why this matters
Tree removal cleanup and a finished planting bed are different scopes of work. Picking up branches does not settle what happens to the stump, grinding debris, equipment tracks, or exposed soil. Those decisions belong in the estimate, before you choose a mulch date.
For homeowners in Rochester, Webster, and eastern Monroe County, the practical goal is straightforward: avoid covering an area that still needs work. Use this tree removal estimate checklist to separate removal, cleanup, stump grinding, and landscape finishing. A written scope gives you something concrete to check at the handoff.
Before you start
Bring these items to the estimate conversation for your 2026 project:
- A clear end use. Decide whether the cleared space will become a mulched bed, lawn, or a planting area. Photograph the tree, nearby structures, gate, and proposed bed from safe ground.
- Access and ownership details. Identify the equipment route, property boundaries, gates, irrigation components, and anything buried that you know about. Ask who arranges required utility marking before any grinding or digging.
- A stump decision. Confirm whether the stump stays, is ground, or needs separate assessment. The easy-to-miss catch: grinding produces woody debris; it does not automatically leave a soil-filled, planting-ready bed.
Do not walk beneath hanging limbs or enter a damaged tree's fall area to collect measurements. A landscaping plan can wait until the tree hazard is addressed.
Build the removal-to-mulch workflow
Removal scope
- Mark the intended bed. Show the estimator where mulch should end, not just which tree should come down. Include nearby shrubs, surviving trees, lawn edges, and structures in the discussion.
- Describe the finished surface. Say whether you want an ornamental bed, a temporary cover, or space for replacement planting. Each outcome needs a different handoff from the removal work.
- Separate the work items. Ask the written estimate to identify tree removal, brush handling, wood handling, stump grinding, grinding-debris handling, soil preparation, and mulch installation wherever those tasks apply.
- Confirm access through completion. Ask whether the same route is needed for grinding equipment or material delivery. Do not finish a bed across a route that still has to carry equipment.
Expected result: You have a defined work area and a written description of what remains after removal. There is no guesswork about whether cleanup includes landscape restoration.
Spartantreeny provides tree removal, stump grinding, and mulching in the Rochester area. Ask which parts of your particular project belong in the estimate, and confirm the handoff directly with the crew rather than assuming every service is included.
Cleanup handoff
- Finish overhead work first. Keep mulch delivery and spreading outside the active removal area until the crew confirms that removal work is complete.
- Resolve wood and brush handling. Confirm what leaves the property and what stays. If you want chips retained, agree on the pile location before unloading; keep the pile out of unfinished work areas.
- Complete the agreed stump work. Do not cover a stump or grinding area simply to make the yard look finished. Settle the next step while the surface is still visible.
- Inspect access routes. Walk the agreed route with the crew when it is safe. Identify debris, ruts, displaced edging, or other unfinished items before mulch hides the ground.
Expected result: The removal area is clear enough to assess, and no planned grinding or equipment movement will disturb the new mulch.
On your 2026 schedule, treat this handoff as a condition, not a promised clock time. Same-day mulching makes sense only when the earlier work is finished and the site is ready. A separate visit adds coordination, but it keeps finishing work from getting ahead of cleanup.
The yard preparation guide for tree removal covers the earlier access decisions that help keep this sequence orderly.
Bed preparation
- Clear unwanted debris. Remove remaining scraps, litter, and woody material from areas intended to receive planting soil. Do not use mulch to conceal debris that should have been handled during cleanup.
- Inspect the surface. Look for depressions, standing water, exposed roots, or damaged irrigation components. Flag those issues before anyone levels or covers the area.
- Confirm any soil work. Where grinding debris has been removed, agree on the soil and grading work needed for the intended use. Keep the finished surface from directing water toward structures.
- Set the bed boundary. Establish where the mulch stops and lawn, paving, or planting space begins. Keep existing tree trunks and root flares visible.
Expected result: The bed has a defined edge, an agreed soil surface, and no unresolved work hidden underneath it.
Fresh wood mixed into soil can tie up nitrogen as it decomposes. That is different from using wood chips as a surface mulch. Do not treat a pile of stump grindings as replacement topsoil, especially where you intend to grow plants.
If the ground is saturated, postpone finishing rather than working it into a compacted mess. Mulch is a surface treatment, not a repair for drainage or compaction.
Mulch placement
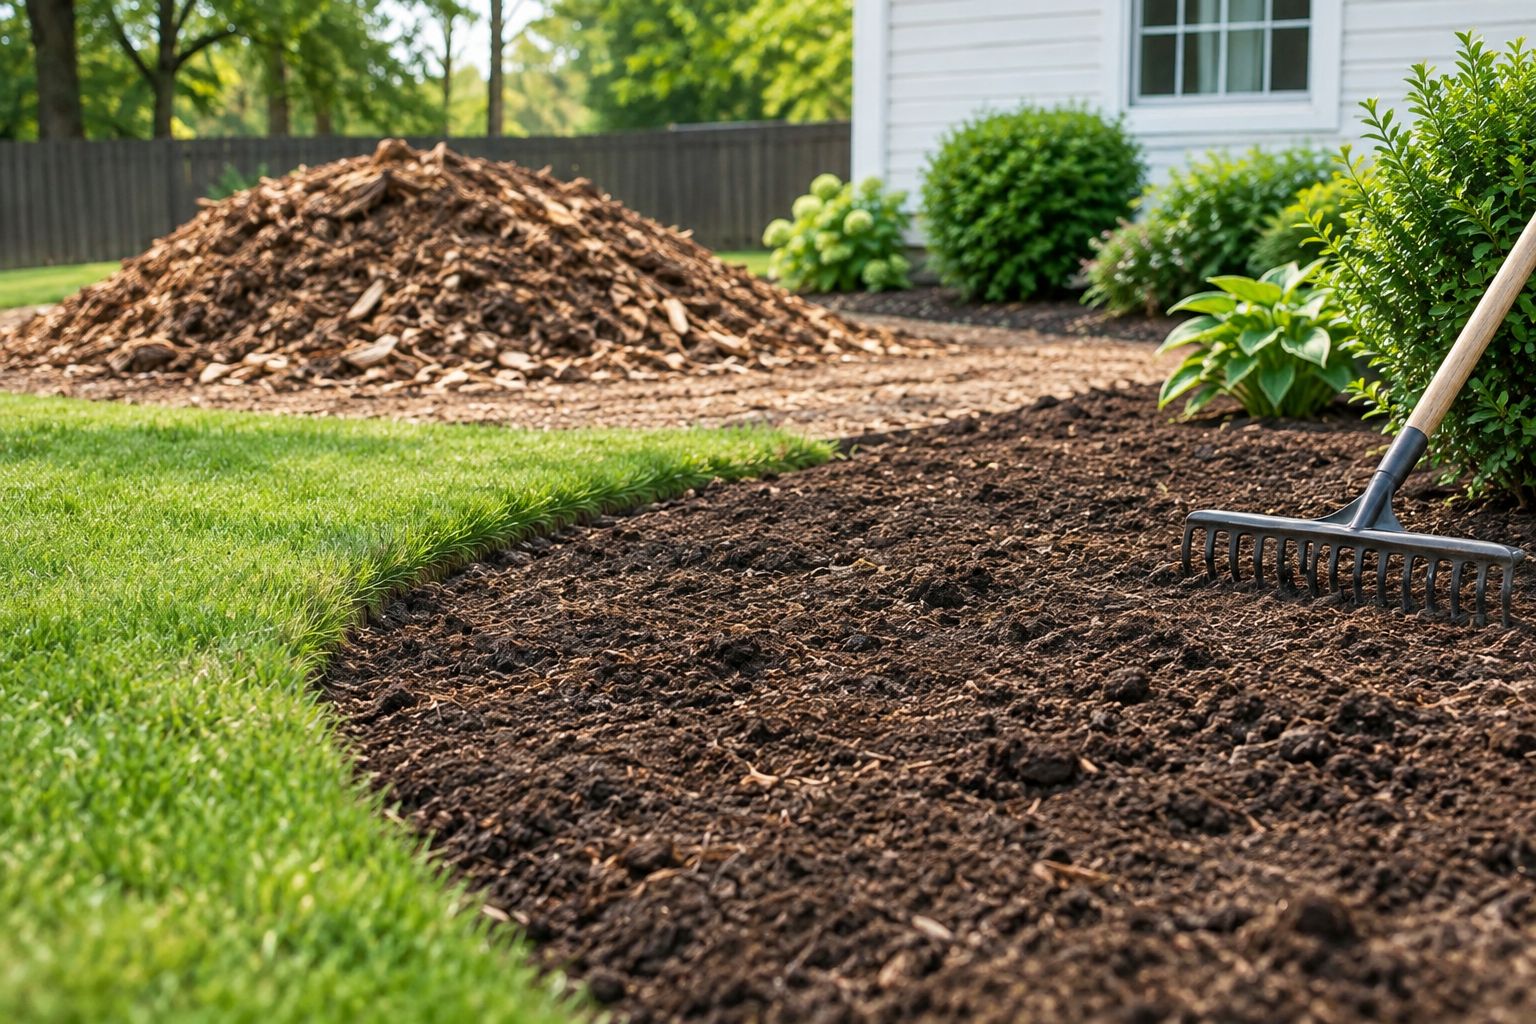
- Choose material for the bed's purpose. Discuss appearance, texture, and whether retained chips suit the location. Confirm the material before delivery rather than assuming removal debris is the planned finish mulch.
- Measure existing coverage. Check mulch already around neighboring plants before adding more. A fresh-looking surface is not a reason to bury an existing layer.
- Spread an even layer. A common extension recommendation for organic landscape mulch is about 2–3 inches deep, adjusted for the material and site. Avoid thick piles and keep mulch away from trunks and stems.
- Check edges and clearances. Leave root flares exposed, keep mulch off siding, and avoid covering drainage openings or irrigation fittings. Sweep material off paving when spreading is complete.
Expected result: Mulch covers the intended soil surface evenly without burying plants, concealing unfinished work, or spilling across access areas.
Measure the bed before ordering. A 100-square-foot bed covered 3 inches deep requires 25 cubic feet of mulch before accounting for existing material. That is a volume calculation, not a recommendation to add that amount to every bed.
For irregular areas, break the bed into simple shapes and measure each one. Ask the installer to confirm the total depth and quantity against the actual site.
Choose the right scheduling variant
There are two sensible ways to coordinate removal cleanup and mulching. Choose by site readiness, not by which date makes the calendar look tidier.
| Workflow | Best for | Advantage | Limitation |
|---|---|---|---|
| Same-visit finishing | A defined bed with cleanup, stump work, and access fully resolved | Avoids a separate finishing visit | Leaves little room for unresolved soil or grading work |
| Separate finishing visit | Areas needing further grinding, soil work, planting decisions, or drying | Allows inspection before covering the ground | Requires another scheduled handoff |
Neither workflow makes mulch a substitute for ground preparation. If replacement planting changes the bed layout, settle that layout first.
Mulch after replacement planting
When removal is part of a replacement-planting project, change the sequence: complete removal and stump decisions, prepare the planting location, plant, then apply the final mulch layer. That keeps planting work from disturbing a freshly finished surface.
For a 2026 fall planting plan, tell the estimator about the replacement tree before the removal scope is finalized. The old stump location, remaining roots, nearby structures, and usable planting space all affect the next conversation.
Do not assume that planting directly into the former stump location is the right choice. Ask for a site-specific assessment, and avoid filling the space with mulch while the planting decision remains open. A temporary tidy-up and a finished planting bed are not the same deliverable.
Troubleshooting the handoff
The crew has finished, but a chip pile remains
Check whether retaining chips was part of the agreement. If you want them removed or relocated, resolve that before mulch installation; spreading them to make the pile disappear changes the bed depth and does not replace proper debris handling.
The grinder has left a mound
Keep the area visible and ask what grinding-debris removal and soil preparation were included. Do not rake the mound flat and call it planting soil. Confirm the intended finished grade before adding anything.
The mulch date arrives while the ground is wet
Ask the crew to assess access and soil conditions before work starts. Postpone spreading if reaching the bed or preparing the soil would cause damage; a booked date does not make wet ground ready.
Mulch is piled against a surviving tree
Pull it back until the trunk base and root flare are visible, then check the surrounding depth. Adding more mulch over an old mound makes the problem worse, even when the top layer looks neat.
Nobody owns the final cleanup
Return to the written scope and identify who handles remaining debris, material piles, edging, and paved surfaces. Get agreement before the next visit. Avoid solving a scope dispute by covering the evidence with mulch.
Customize your workflow before requesting an estimate
Spartantreeny fits Rochester homeowners who need tree removal and mulching services. The useful next step is an individual estimate that defines the work between those two services, not an assumed package or an instant online figure.
For your 2026 estimate request, include the property location, photographs taken safely, the desired use of the cleared area, and whether you want stump grinding discussed. Mention narrow gates, nearby structures, existing beds, and any wood or chips you want retained.
Ask about careful removal and thorough cleanup in concrete terms: which areas need protection, where equipment will travel, what debris leaves, and what the final walk-through covers. Confirm whom you will speak with on the crew when a site decision comes up.
Access, tree size, nearby structures, and cleanup scope affect the work involved. Give the estimator those details rather than asking mulch alone to stand in for the whole project. If lawn restoration is the actual goal, say so before anyone plans a permanent mulched bed.
Request your project estimate
Discuss removal, stump work, cleanup, and mulching for your Rochester-area property.
FAQ
Can you mulch immediately after tree removal in Rochester, NY?
Yes, if removal cleanup, planned stump work, ground preparation, and equipment access are complete. Schedule by site readiness rather than assuming mulch must follow removal on the same day.
Does tree removal cleanup include mulching?
Do not assume mulching is included in tree removal cleanup. Ask the written estimate to identify debris handling, stump work, soil preparation, and mulch installation separately.
Can I spread stump grindings where the tree stood?
Do not use stump grindings as replacement planting soil. Woody debris mixed into soil can tie up nitrogen during decomposition; discuss removal and soil preparation for the area's intended use.
How deep should mulch be after tree removal?
Organic landscape mulch is commonly applied about 2–3 inches deep, adjusted for the material and site. Measure existing coverage first, keep root flares exposed, and avoid piling mulch against trunks or stems.
Should I plant a replacement tree before mulching?
Yes, complete replacement planting before spreading the final mulch layer around the new tree. Have the planting location assessed rather than assuming the former stump location is suitable.
What should I send when requesting a removal and mulching estimate?
Send the property location, safe photographs, your intended use for the area, and a description of access. State whether you want stump grinding, retained chips, soil preparation, and mulch included in the discussion.
Does Spartantreeny provide both tree removal and mulching?
Yes, Spartantreeny provides tree removal and mulching services in the Rochester, NY area. Request an individual estimate to confirm the scope and sequence for your property.
One last thing
Inspect the ground before the mulch goes down. A finished surface makes remaining scraps, uneven grade, and the edge of a grinding area harder to see. Walk the bed with the crew while those details are exposed.
For your 2026 project, make that inspection the handoff between cleanup and finishing. You do not need to judge the removal technique; you need to confirm that the agreed debris handling is complete and the ground is ready for its next use. Careful beats fast when the alternative is spreading mulch twice.